TL;DR Do not use self-signed certificates in production environments, especially when dealing with sensitive data like credit card numbers or personal information. However, if it just for debugging, go to section [How to create a self-signed certificate] to learn how to generate and use them.
HTTPS is the standard protocol used to secure HTTP transfers over the Internet. HTTPS uses TLS underneath to provide the following security properties:
- Authentication: ensures that the origin of a message can be verified, e.g. a client is talking to the right server;
- Confidentiality: attempts at preventing unauthorized users from reading secret information, e.g., messages between client and server cannot be eavesdropped;
- Data integrity: prevents unauthorized users from altering the data without being detected, e.g., forged messages are rejected.
These security guarantees are only possible to ensure due to the TLS handshake protocol (using TLS certificates), allowing application-layer traffic sent after this phase to be properly encrypted and authenticated.
In some situations (e.g., environments where servers do not have a domain name or are not exposed to the Internet), we may be interested in bypassing the TLS authentication mechanism, while keeping the confidentiality and the data integrity properties. This can be done by using self-signed certificates. In this post, we will describe how they can be used in Android apps that rely on the OkHttp3 library.
TLS Certificates: Trusted CA vs Self-signed
In typical TLS usage scenarios, hosts are configured with a list of certificates from well-known issuers, called Certificate Authorities (CAs). When a TLS certificate presented by a server is signed by a CA that is trusted by the client (because it is already built-in on its system), the client can validate the certificate’s chain of trust and verify that the server certificate is trusted and valid for a specific domain.
In contrast with a certificate that is signed by a trusted third party, a self-signed certificate is a certificate signed by itself. In this case, since the certificate presented by the server is not signed by an entity trusted by the client, the client has zero guarantees about the server identity. As a good practice, self-signed certificates should never be used in production deployments, especially in servers that deal with sensitive information such as credit cards or personal information, mainly because they could easily be subject to man-in-the-middle attacks.
However, self-signed certificates can be useful in specific situations, such as communication inside an intranet, controlled, or testing environments.
How to create a self-signed certificate
Going straight to the point, a self-signed certificate can easily be generated by resorting to the following OpenSSL command (you need to have OpenSSL installed on your system first):
This command creates a self-signed certificate, valid for 365 days, using an RSA key of 2048 bits. The certificate details will be signed with sha256 message digest, and it will be written to certificate.crt. The private key used to sign the certificate will be written to privateKey.key.
Remember, private key should always be private. Only the certificate is sharable.
System setup for testing the self-signed certificate
To show how to accept a self-signed certificate in an Android app using OkHttp 3.12.0 I’m going to adapt a project developed in a previous experience. The mobile app will make HTTPS requests to an Nginx server configured with a certificate signed by a trusted CA (running on port 443) and with the self-signed certificate generated above (running on port 8443).
The Android App code is available in this Github project and a docker image with the webserver is available in this Github project.
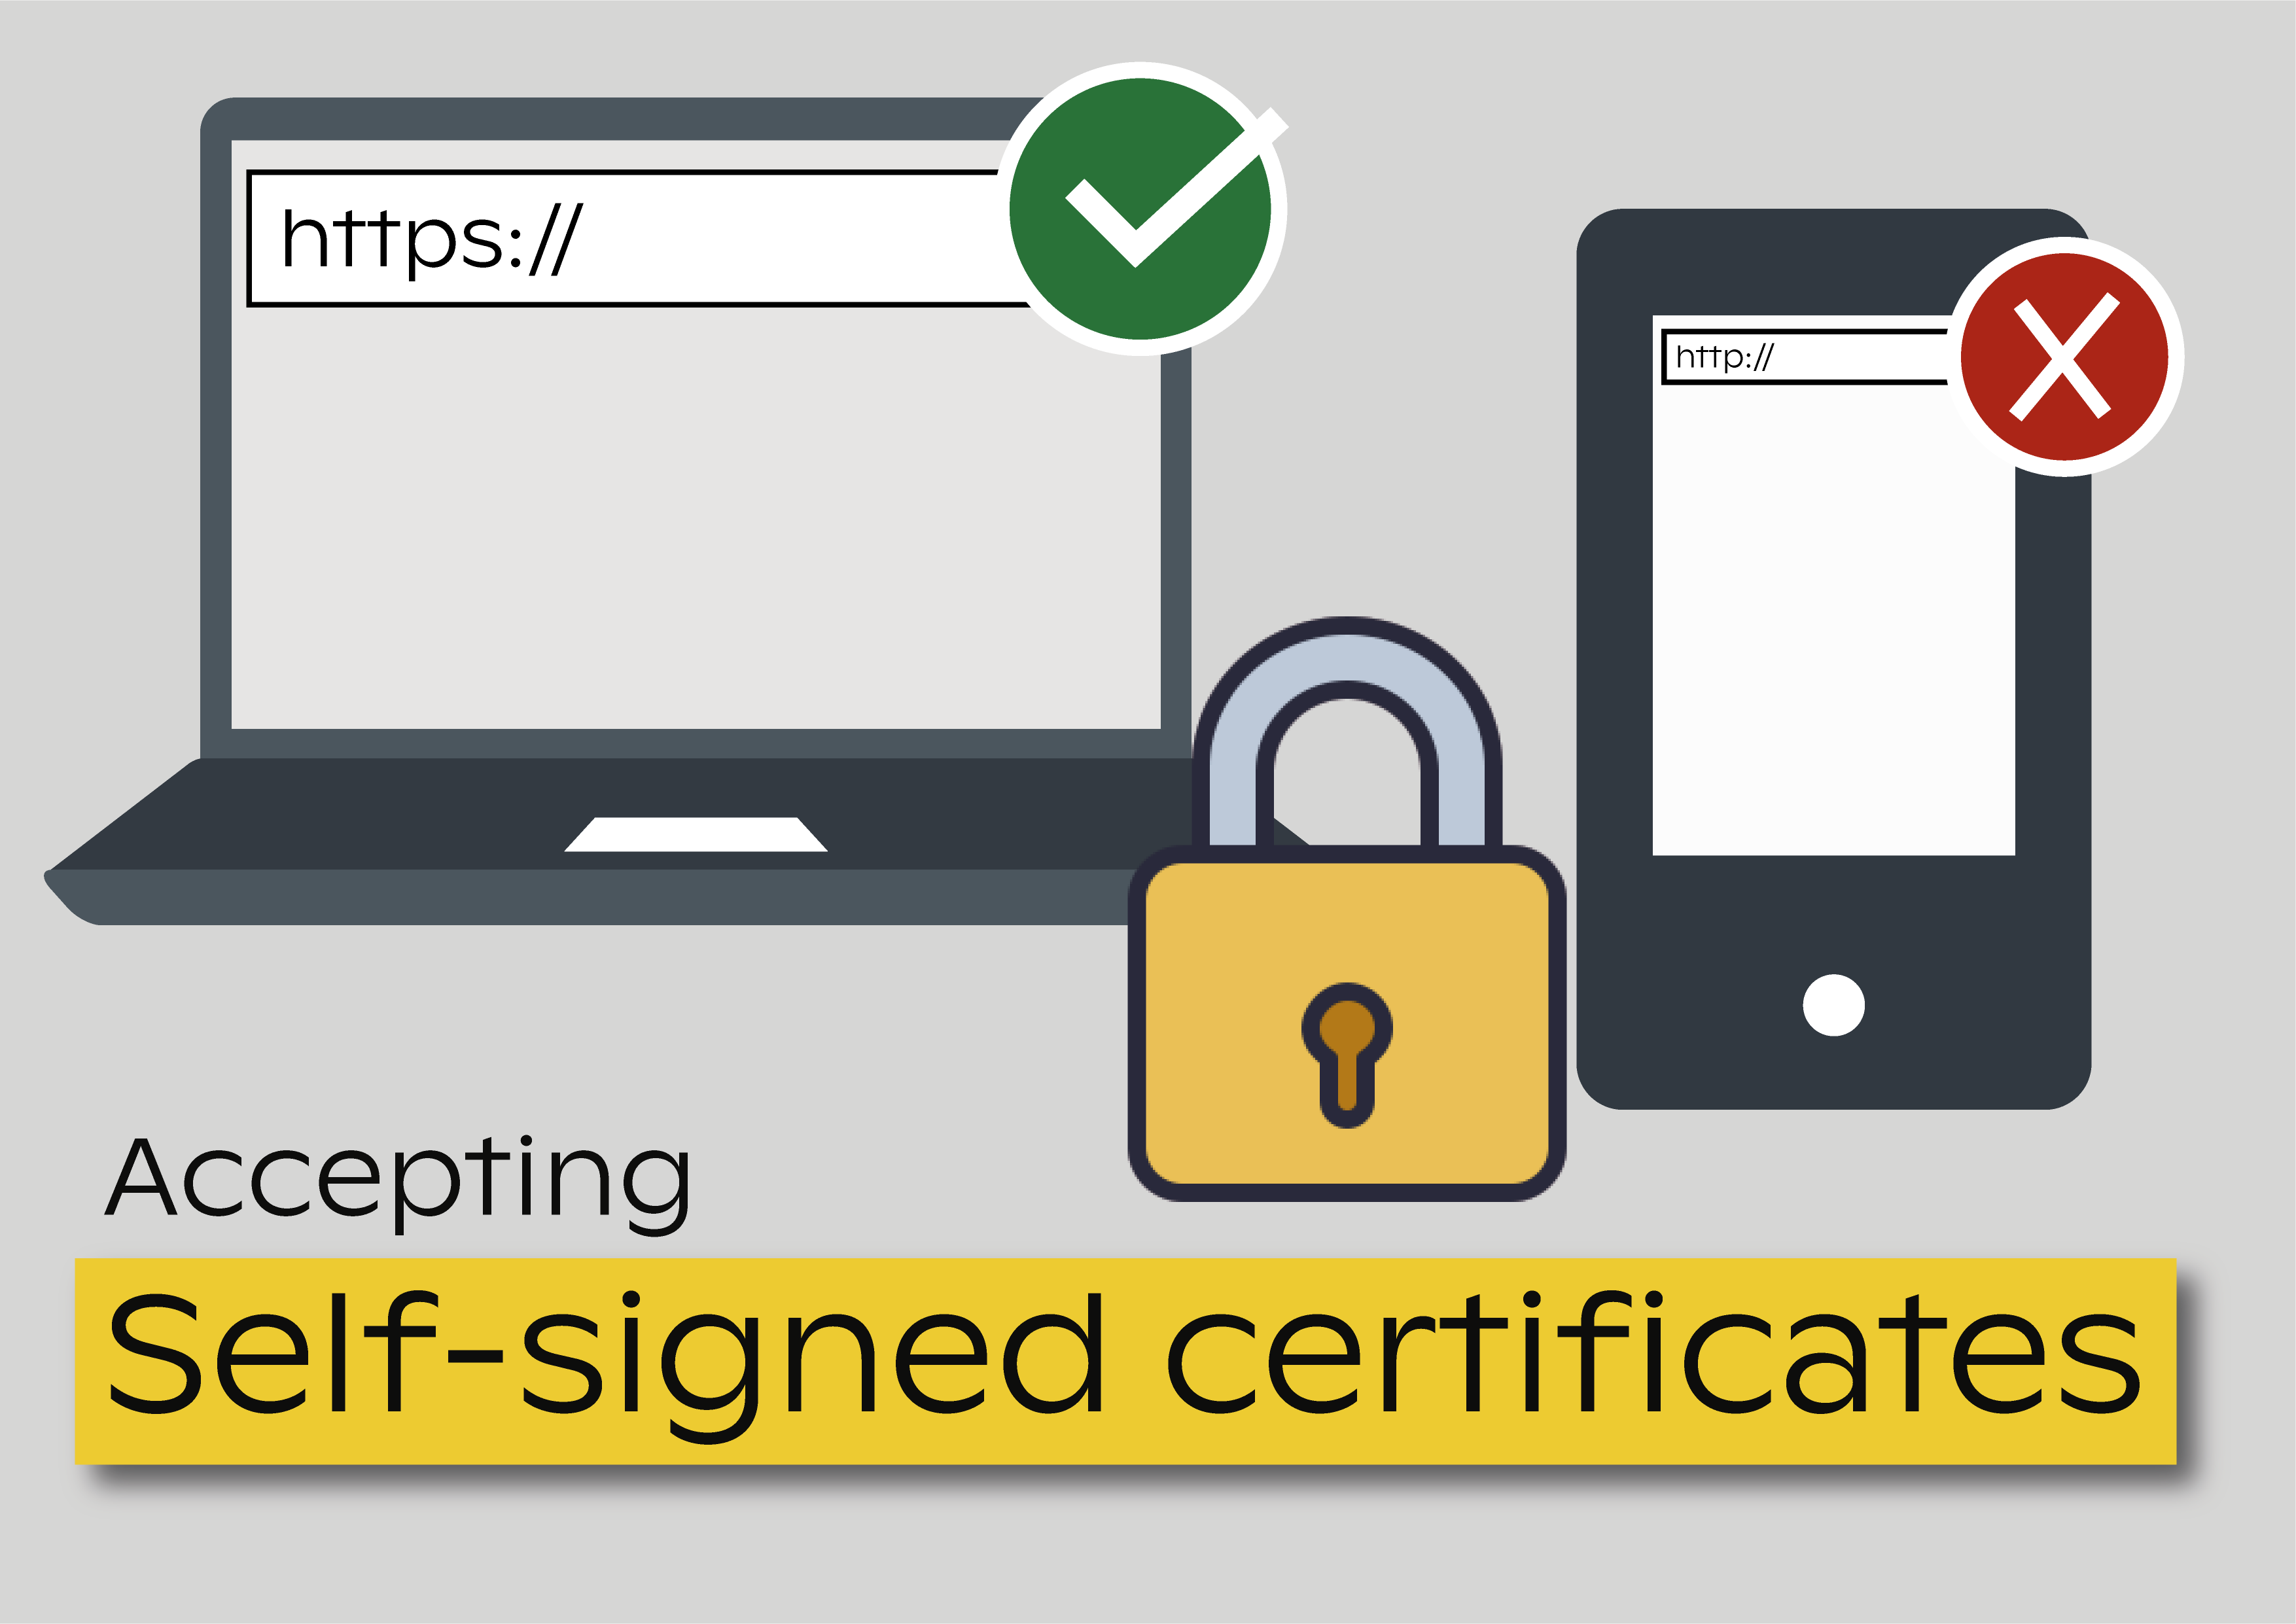
Accepting self-signed certificates in OkHttp3

Programmatically speaking, when using OkHttp3, the main difference between an app that only accepts certificates signed by a trusted CA and an app that accepts self-signed certificates lies on the way an OKHttpClient is initialized. If the server presents valid and trusted certificates, then the proper way to initialize OKHttpClient is the following:
This will provide proper methods to secure HTTPS connections, namely validating the chain of trust and performing hostname verifications using system default definitions. However, this will throw security exceptions if the certificate used by the server is self-signed, as follows:
The errors listed above basically mean that the chain of trust could not be verified by the client. In other words, the certificate presented by the server is not signed by an entity trusted by the client.
In order to bypass the default authentication mechanisms of OkHttpClient, I have to customize and change its default methods via an OkHttpClient builder, and only then create an OkHttpClient with the changed configurations.
So, the first step is to create a Trust Manager (entity responsible for deciding if a peer is trusted) that does not validate certificate chains. This task can be achieved by creating a trust manager that overrides the default methods that perform security validations, replacing them by methods that bypass those validations.
Then, understand that SSLContext and SSLSocketFactory define a collection of TLS options, extensions, trust managers, ciphers, and other settings that are used in TLS sessions.
So, the next step is to install the given Trust Manager that does not validate the certificate chain when initializing SSLContext, and create an SSLSocketFactory accordingly.
Then, create an OkHttpClient builder,
and set the SSL Socket Factory and the Trust Manager in the OkHttpClient builder.
At this stage, we have an OkHttpClientBuilder configured to bypass the validation of chain of trust of the server certificates.
Creating an OkHttpClient based on the aforementioned OkHttpClientBuilder, i.e.,
still fails to perform requests, resulting in the following error
This means that the domain/hostname verification is failing. Thus, the next step is to configure the OkHttpClientBuilder to bypass/invalidate the hostname verification, by adding the following:
This overrides the system Hostname Verifier to accept connections from any host. Putting it all together, instead of calling
Just call
The implementation of the method above is as follows.
This will allow for a client to accept any certificate when performing an HTTPS request. The client will not authenticate the server, but the pipe between the client and server will still be encrypted according to the parameters negotiated during TLS handshake.
Final remarks
Using self-signed certificates is useful if a given server or system setup cannot be configured with certificates signed by a trusted CA, and can be a very appealing solution since they have no cost and are very easy to generate and deploy.
However, be careful when using them, having always in mind that they MUST NOT be used in production systems exposed to the Internet. For that, there are plenty of trusted CA that allow certificating the authenticity of your server. Although most of them charge money for that, there are also good services that do a great job on that and are free, such as Let’s Encrypt.