Part of my work while developing Bolina is to get familiar with the tools that developers on this field use. One of my tasks implied creating an iOS application to compare two HTTP libs (NSURLSession and Alamofire), so I decided to use an A/B testing tool to gather information on which one performs better.
As I explore here, I defined my research parameters (them being easy to use and easy to gather support information), made some research to see which tools could fit my goals better and ended up with three platforms I was willing to test: Optimizely, Firebase and Kii.
As I know that many of you are often in my shoes, I decided to share all the struggles I had during the process of integrating their SDK’s with my mobile app; as well all the benefits that these tools have, from my point of view. Here's my experience with Optimizely.
Optimizely is an experimentation platform that allows you to run experiments and roll out new features on your website, mobile app, server-side application, or any other internet-connected device. In addition to their Websolution, they also offer SDKs for developers to run experiments in Android, C#, iOS, Java, JavaScript, Node, PHP, Python, and Ruby. In my case, the iOS SDK was good enough.
The first step was to create an account, but that’s not a simple step: I had to provide unnecessary information, such as my company name or my personal phone number, so they could make a discovery call to find out which would be the ideal solution for me.
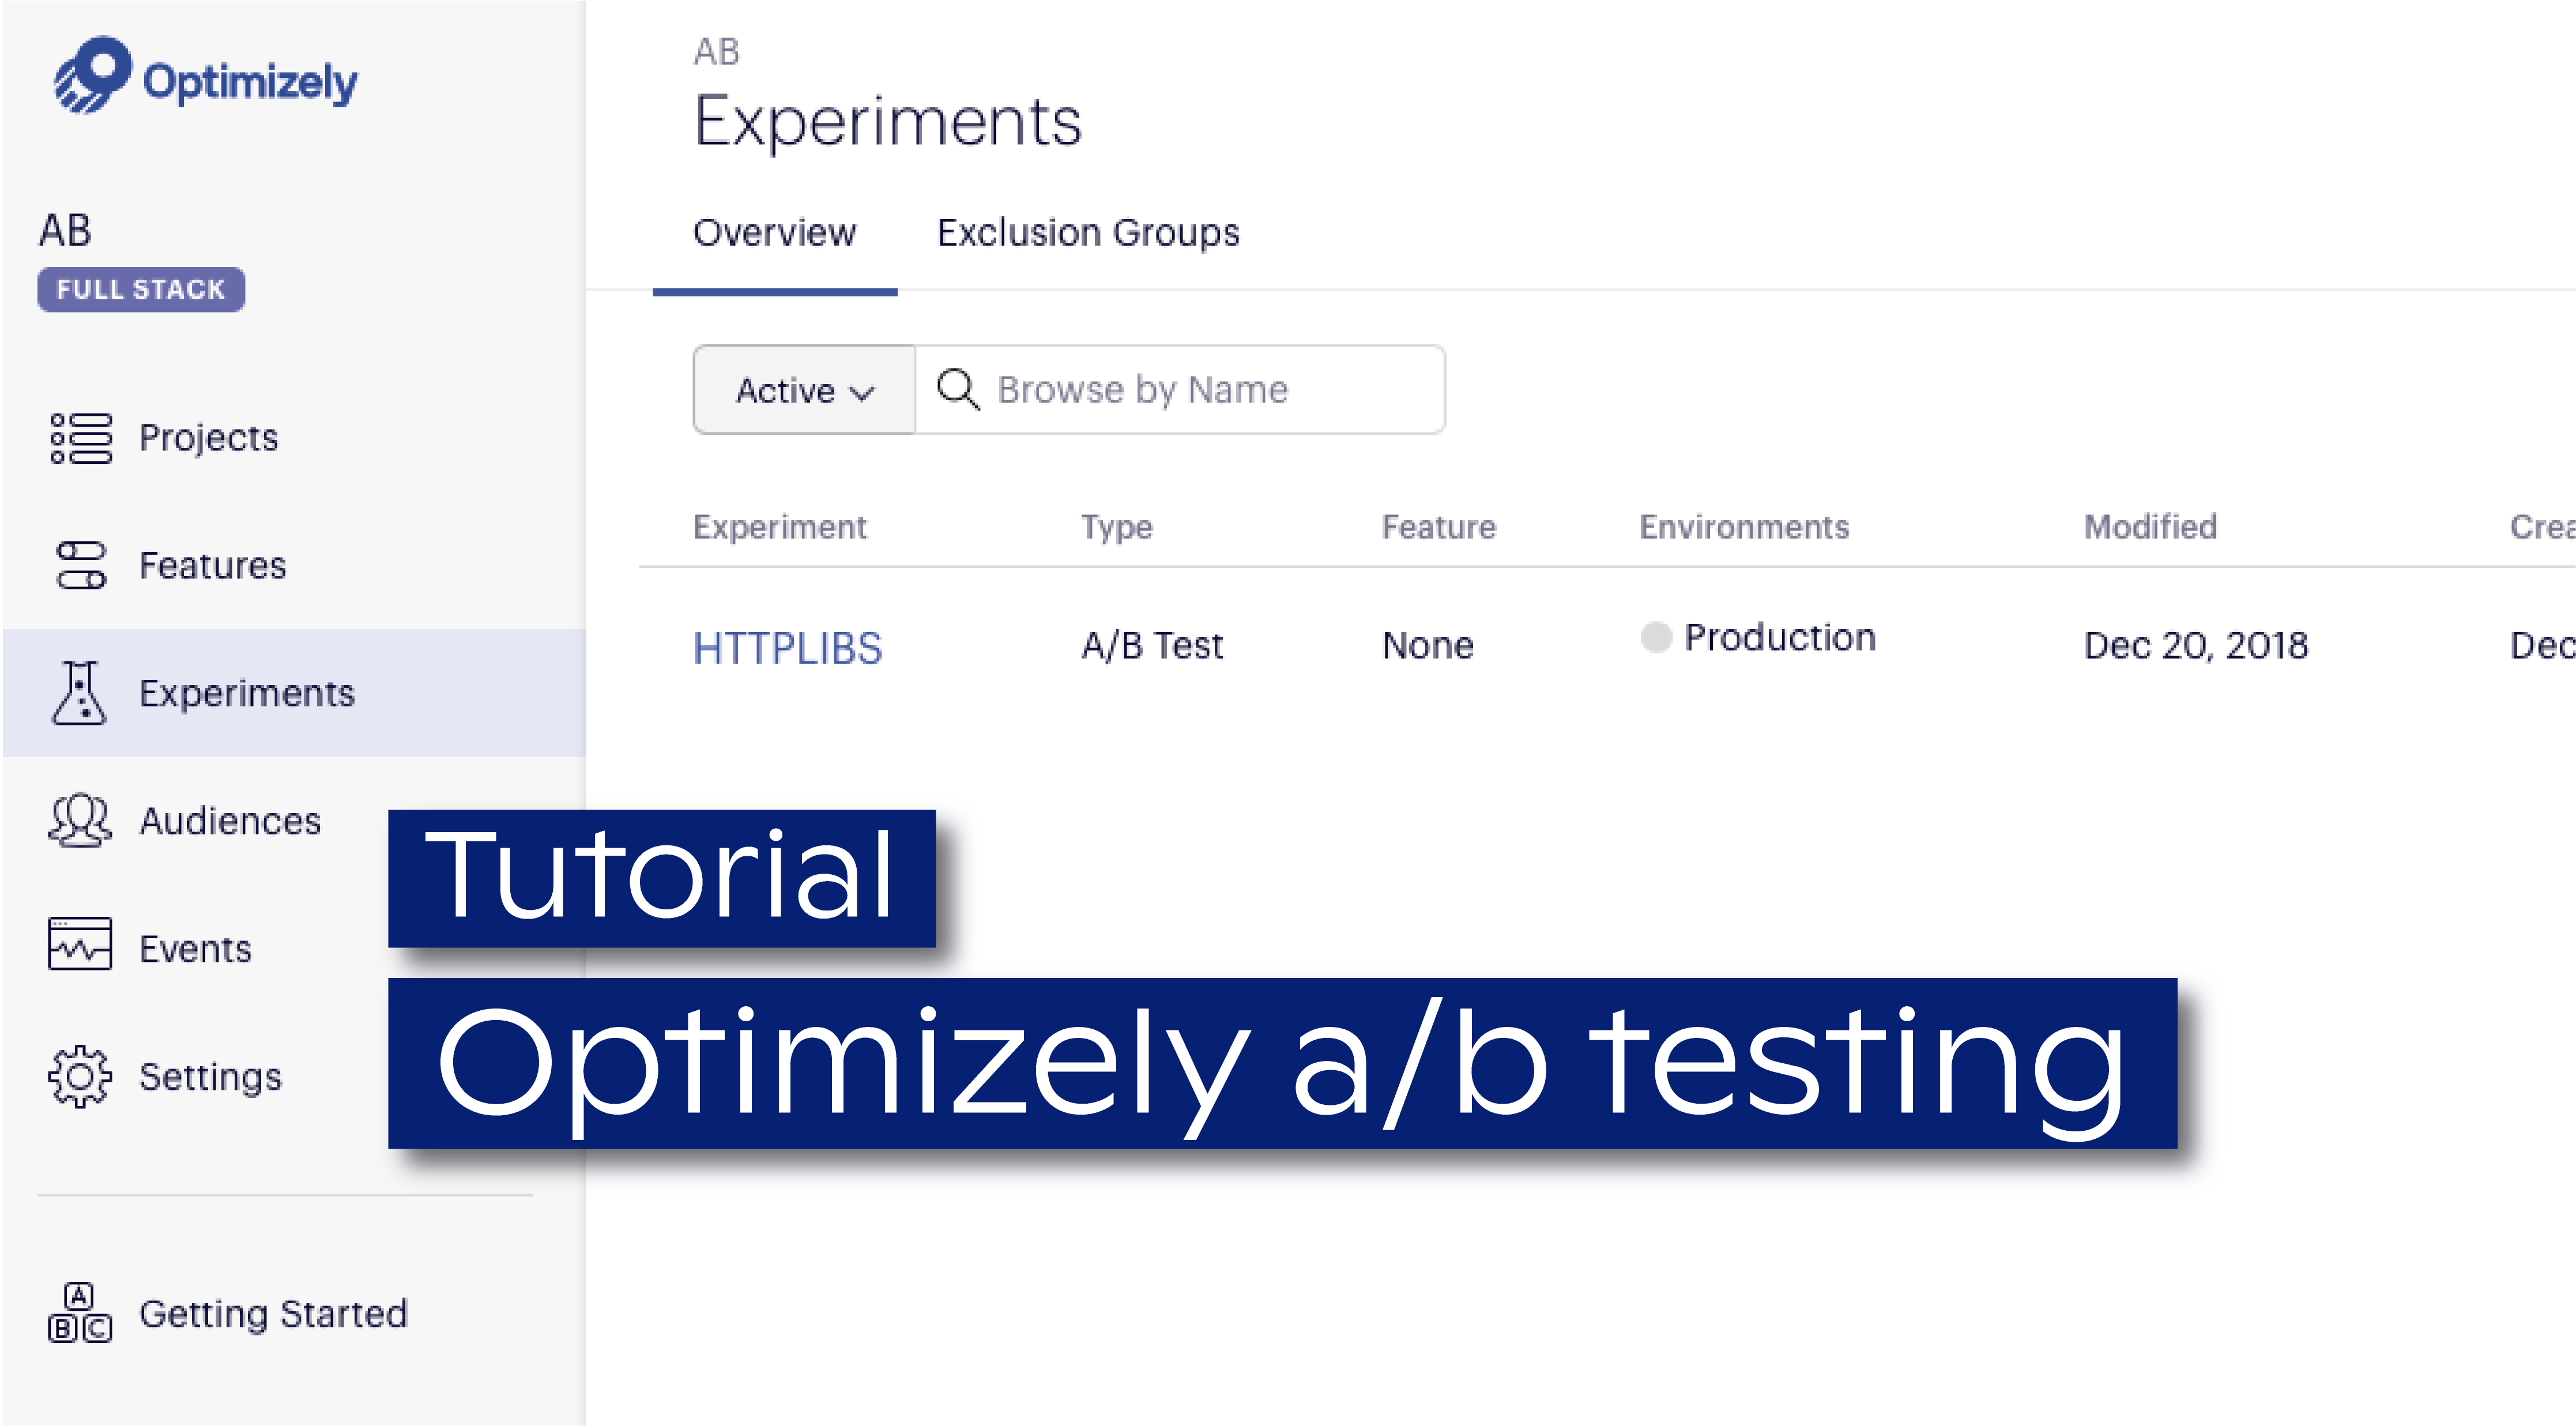
The next step was to access to the Optimizely X Full Stack, an experimentation and feature flagging platform for websites and mobile apps. It can help us deploy code behind feature flags, experiment with A/B tests, and rollout or rollback features immediately. Inside the Optimizely X we are able to create a new A/B experiment by creating a new experiment key and provide all other information such as Variations, metrics that we want to measure among others.
To integrate the framework with an iOS app (I recommend the CocoaPods methods because it is very simple to use and is a well knowing dependency manager), they provide a full step-by-step guide. You just need to add the Optimizely framework to your podfile and run the command pod install.
To use the Optimizely SDK in a Swift application you just need to import it and build the manager. The image below represents the code that I had to use in my app in order to start testing.
With my app linked with the Optimizely SDK, the next step was to create and define, via dashboard, my A/B testing project. Within the dashboard, I had to create a full stack project, which is directed to users who want to run experiments anywhere in multiple technology stack. Then, I created a new A/B test experiment, in which I was able to define all the parameters used in the test, such as the number of variations, the metrics I wanted to collect and so on.
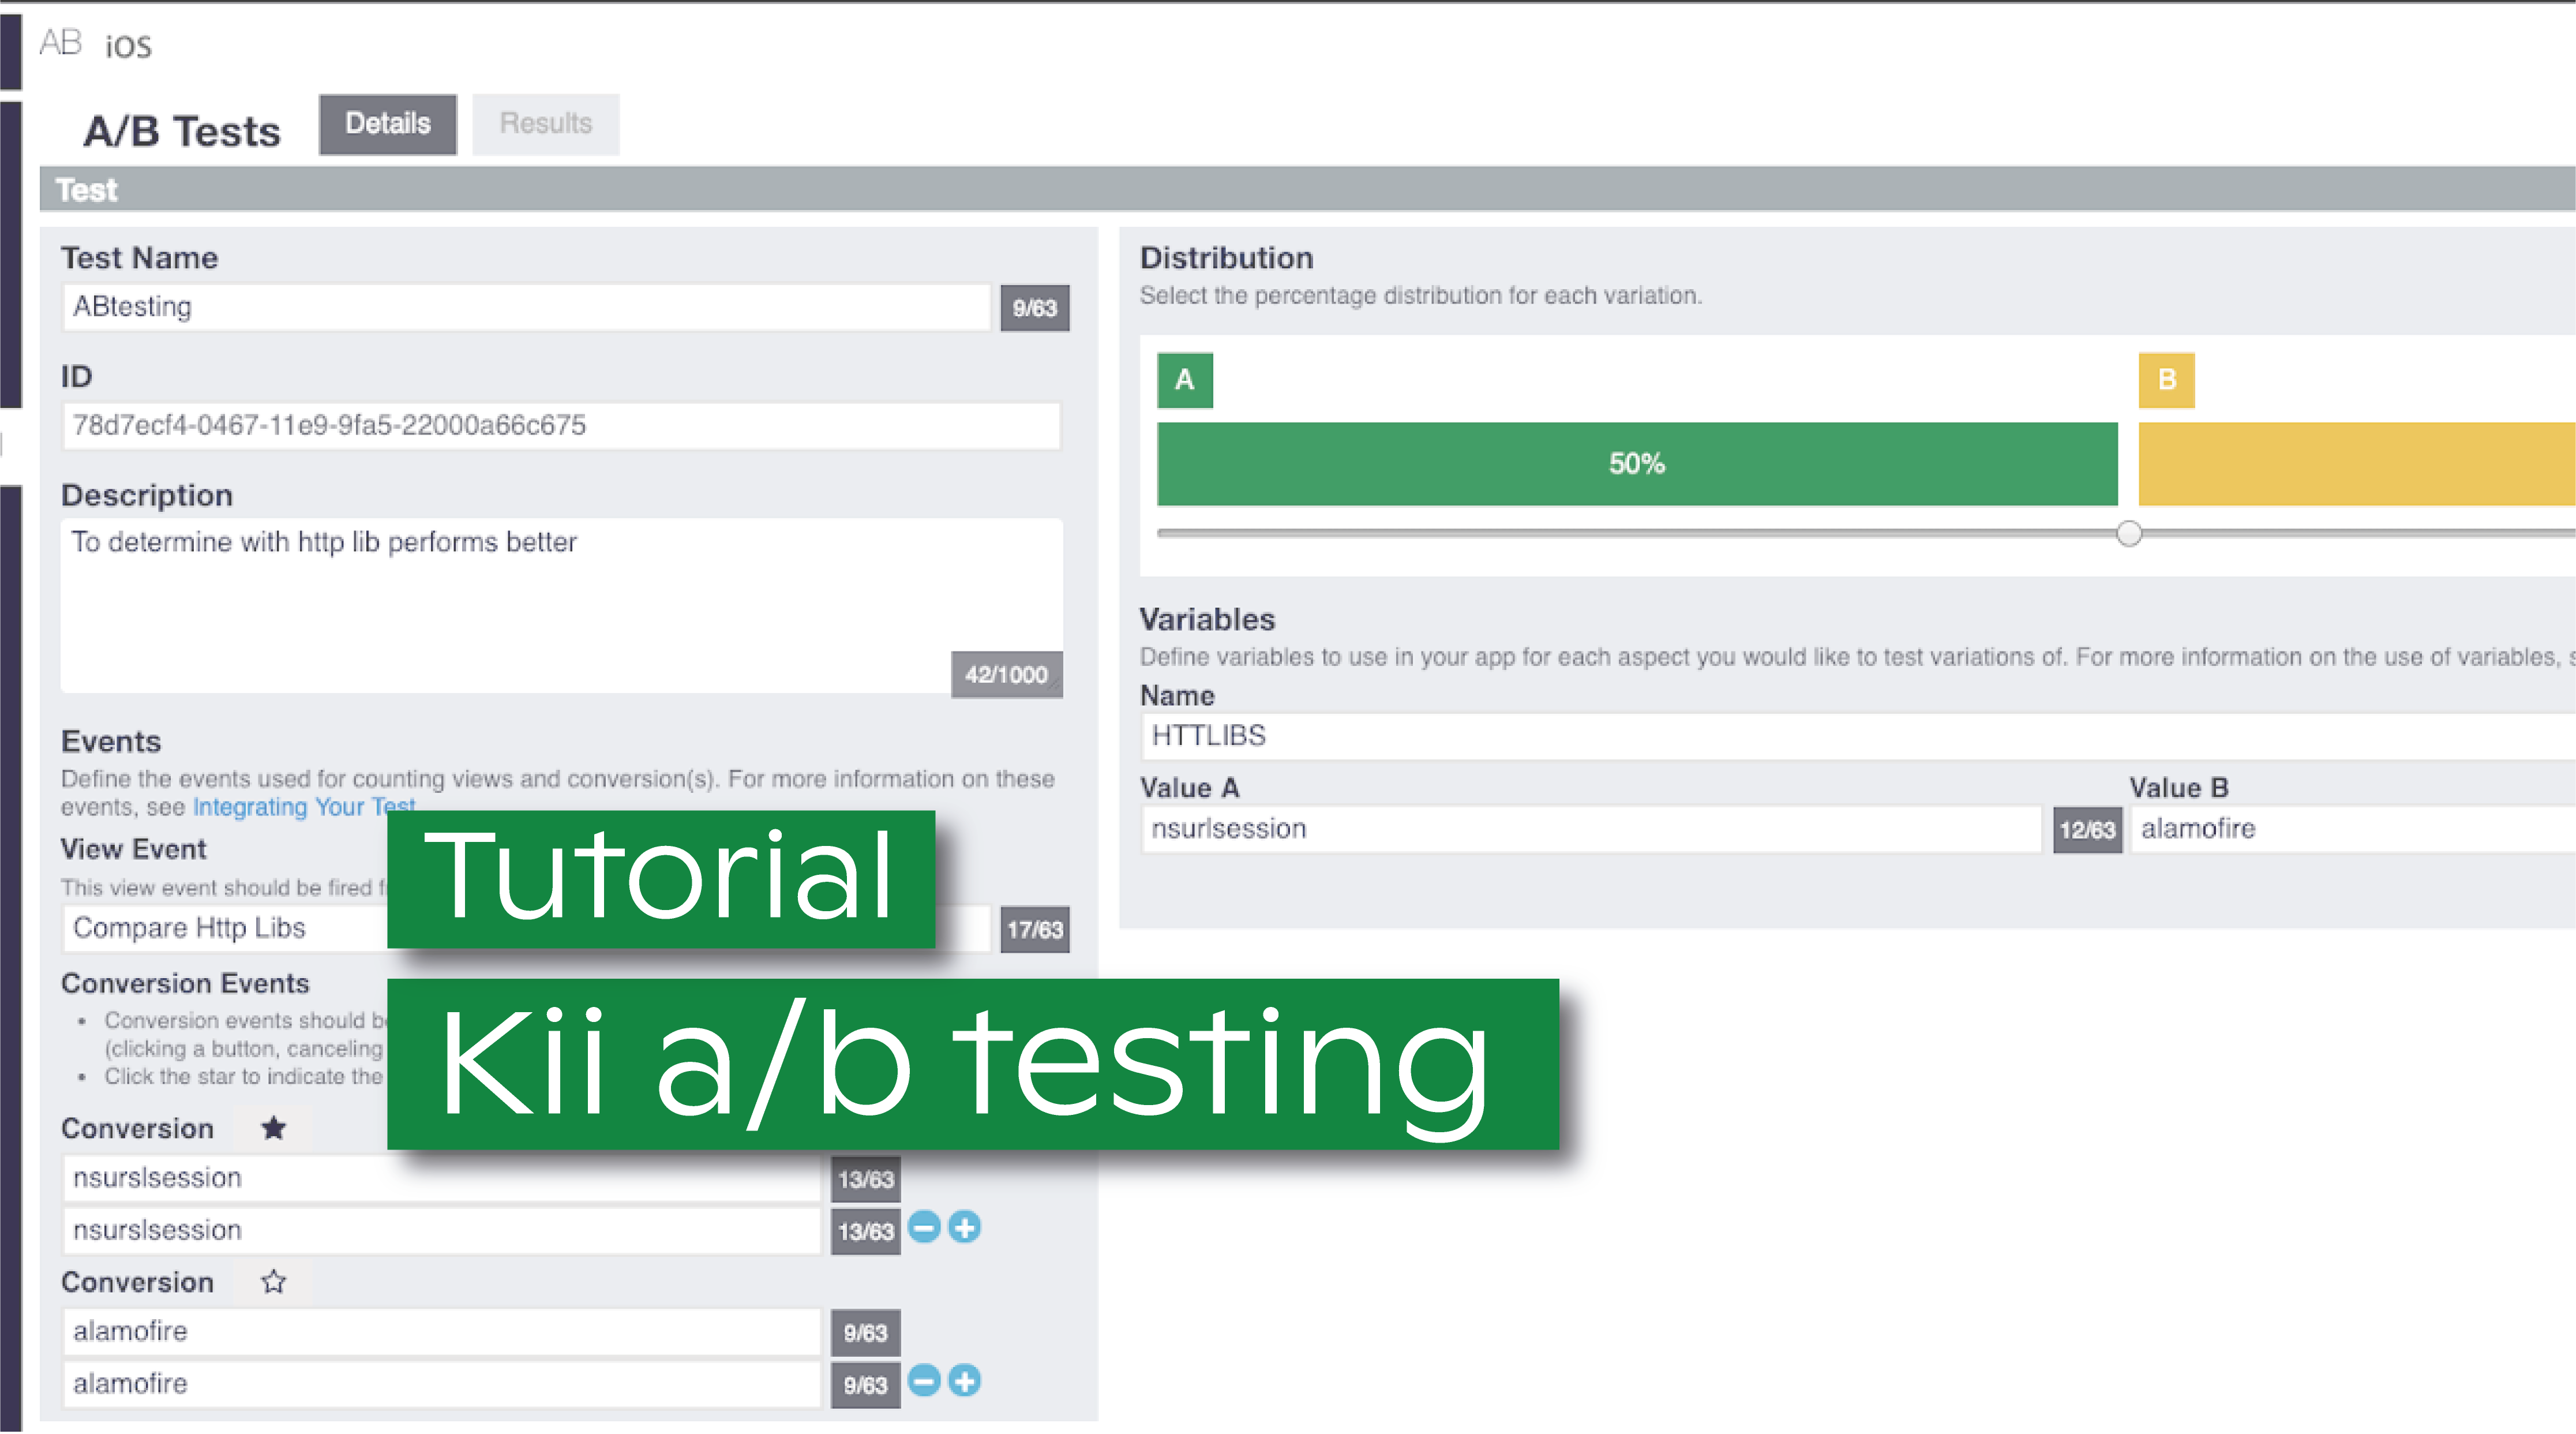
This is the dashboard view after I created my experiment with two variations: one with the NSURLSession key and other with the Alamofire key, and attributing a 50-50 traffic distribution percentage to both of them. This is an important step, since I had to use these keys in my app in order for it to identify which test it should perform. And you're good to go!
As I mentioned before, I've tried and integrated three different tools. Here's my overview on the three of them, here's a tutorial on how to integrate Firebase and here's everything you need to know to integrate Kii.


